Blog
Does At-Home Red Light Therapy Really Work?
I’d been dealing with stubborn adult acne and started seeing early aging signs, so I went looking for non-invasive skincare options. I wanted professional-level results without paying salon prices. That’s how I found red light therapy for facial use at home. This treatment has NASA research behind it and plenty of clinical studies too. As a certified skincare specialist, I’ve tested different devices for over five years. I’ve seen with my own eyes how these LED systems can really change your skin when you use them regularly and properly. The best part is you can do these red light therapy treatments right in your bathroom while reading or relaxing. This makes sticking with your skincare routine much easier than you’d think.
Table of Content
Understanding Red Light Therapy Fundamentals
What Exactly Is Red Light Therapy?
Here’s how red light therapy works for your face at home: it uses special light wavelengths, usually between 630-670nm for red light and 810-850nm for near-infrared.
These different wavelengths go into your skin at various depths to give your cells more energy. Dr. Michael Hamblin from Harvard Medical School, who’s an expert in light therapy, breaks it down: your skin cells soak up the red and near-infrared light.
This boosts your cellular energy, helps manage oxidative stress, and activates your skin’s natural repair systems. This whole process is called photobiomodulation. Basically, it powers up your skin cells so they work better.
Your skin starts repairing itself naturally, without any damage to the surface like you might get from harsher treatments.
There’s solid science backing this up too. Lots of proper studies have shown that specific light wavelengths really work for different skin issues. One study from 2014 found something pretty cool: using 630nm red light made skin look better.
felt smoother, and boosted collagen after just 30 sessions. Here’s what the research shows about red light therapy benefits:
| Condition | Wavelength | Results | Study Duration |
|---|---|---|---|
| Wrinkle Reduction | 630nm | 36.6% improvement | 12 weeks |
| Acne Inflammation | 415nm 633nm | 77% reduction | 8 weeks |
| Collagen Production | 660nm | 31% increase | 4 weeks |
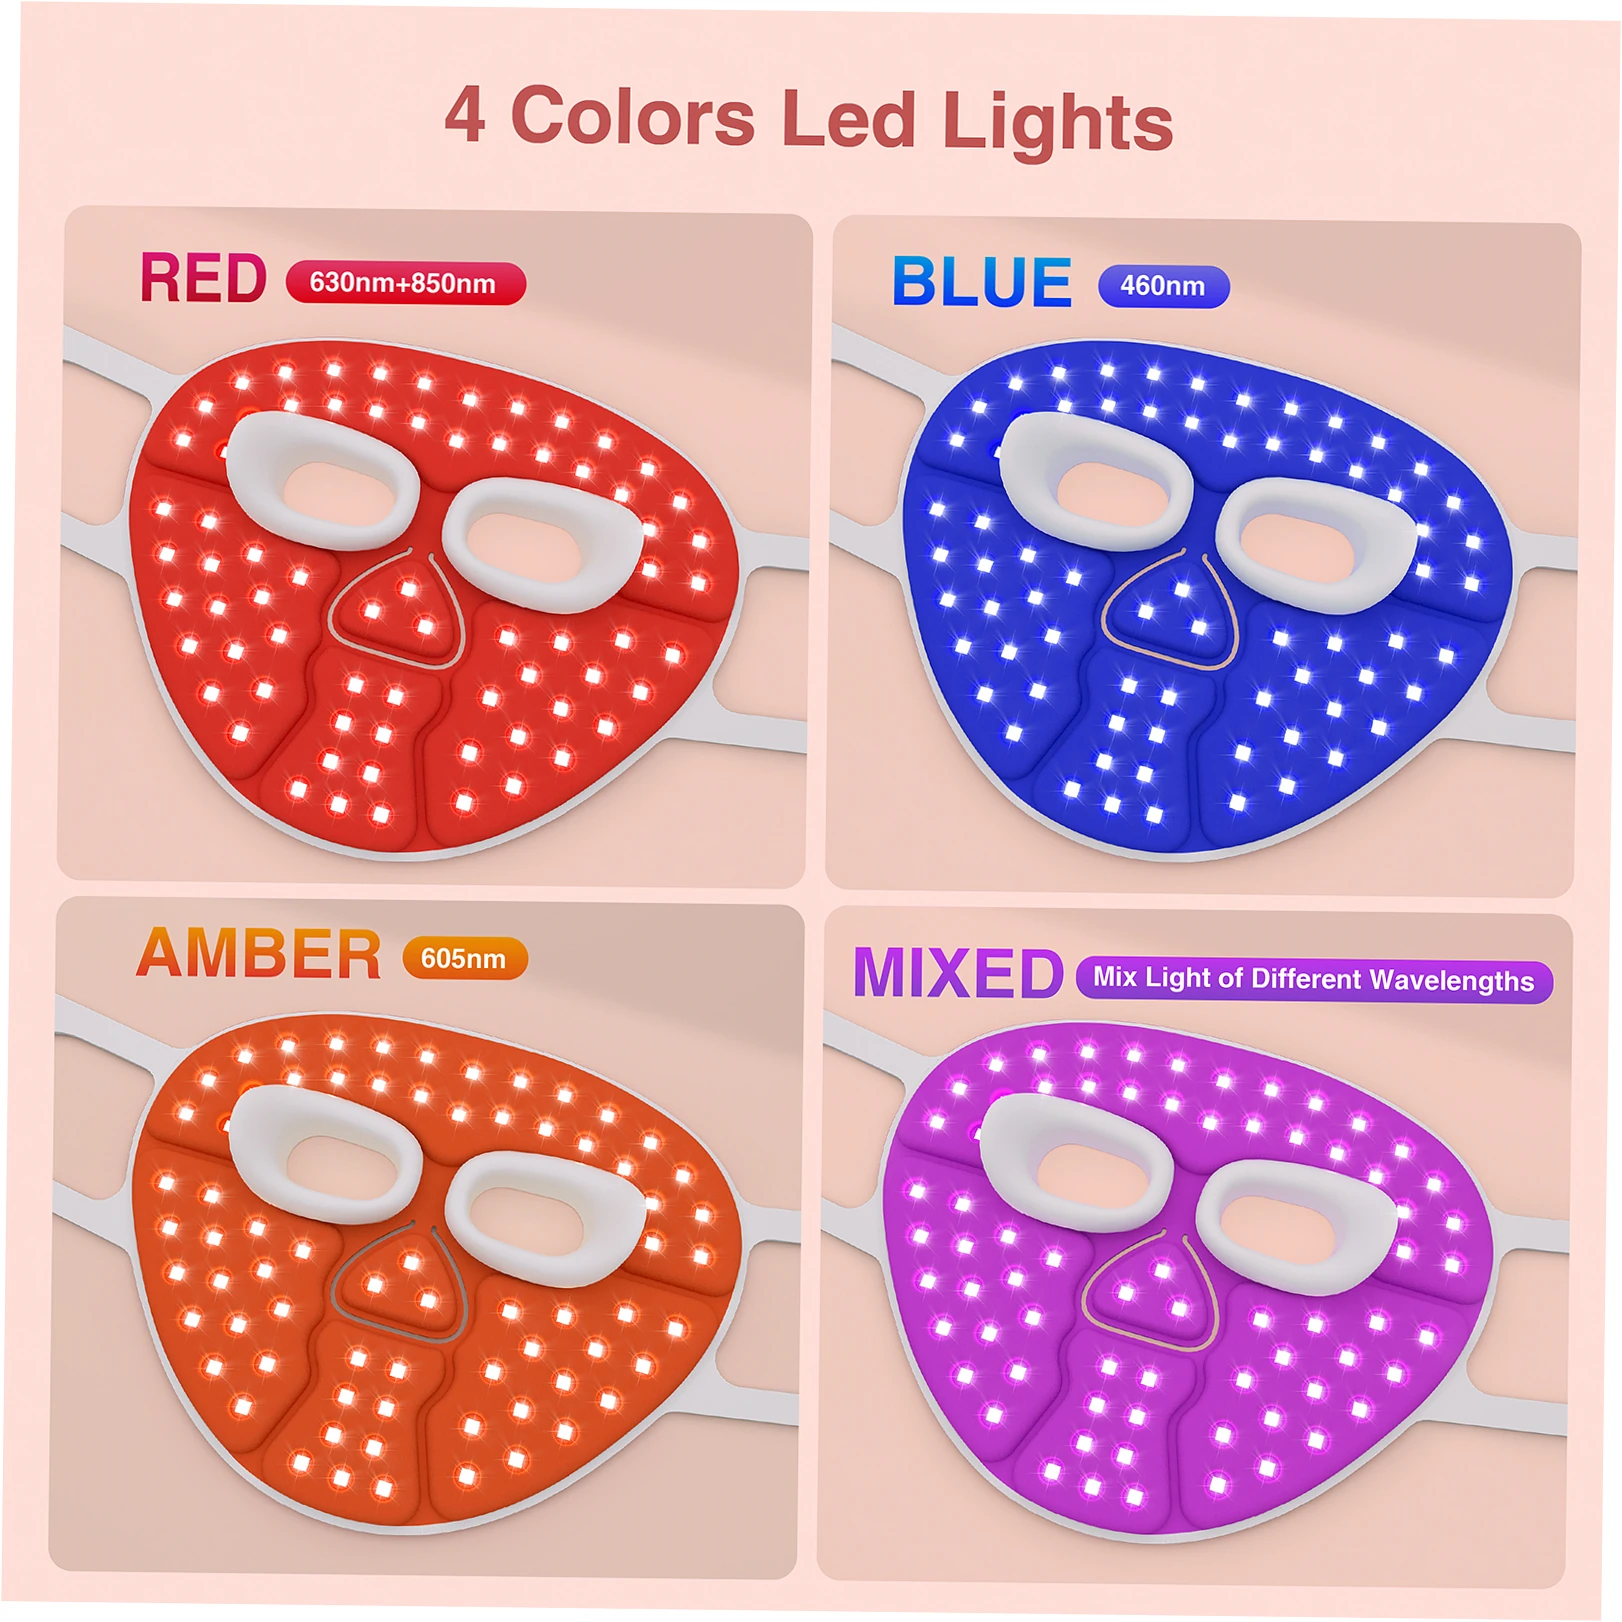
Different Light Colors and Their Specific Benefits
When you’re picking a home device for red light therapy, it helps to know about the different light colors. Regular red light around 630-660nm is great for boosting collagen and calming down inflammation.
That’s why it’s perfect for anti-aging and soothing sensitive skin. Near-infrared light goes deeper into your skin and can even help with muscle aches and joint inflammation.
Lots of good home devices mix different wavelengths, but make sure they’re actually proven to work, not just thrown in for marketing.
Some fancy LED face masks add extra colors too. You might see blue light for acne or amber light for lymphatic drainage. But from testing over 15 different devices myself.
I can tell you that the ones sticking to red and near-infrared light usually give you better anti-aging results. When devices focus on just a few wavelengths, they can pack more power into each one instead of spreading themselves too thin.
Picking the right red light therapy device for your face at home
What to look for before you buy
Check the tech specs first – when buying a home red light therapy device for your face, go for ones that tell you their exact wavelengths and power density. Good brands will show you lab reports from outside testers that prove their numbers.
I found this out myself when I tried a cheap mask – it promised professional results but barely did anything for my face until I switched to a medically-tested device with real power.
Always look for FDA clearance – that means they’ve been thoroughly checked for safety and actually work as advertised.
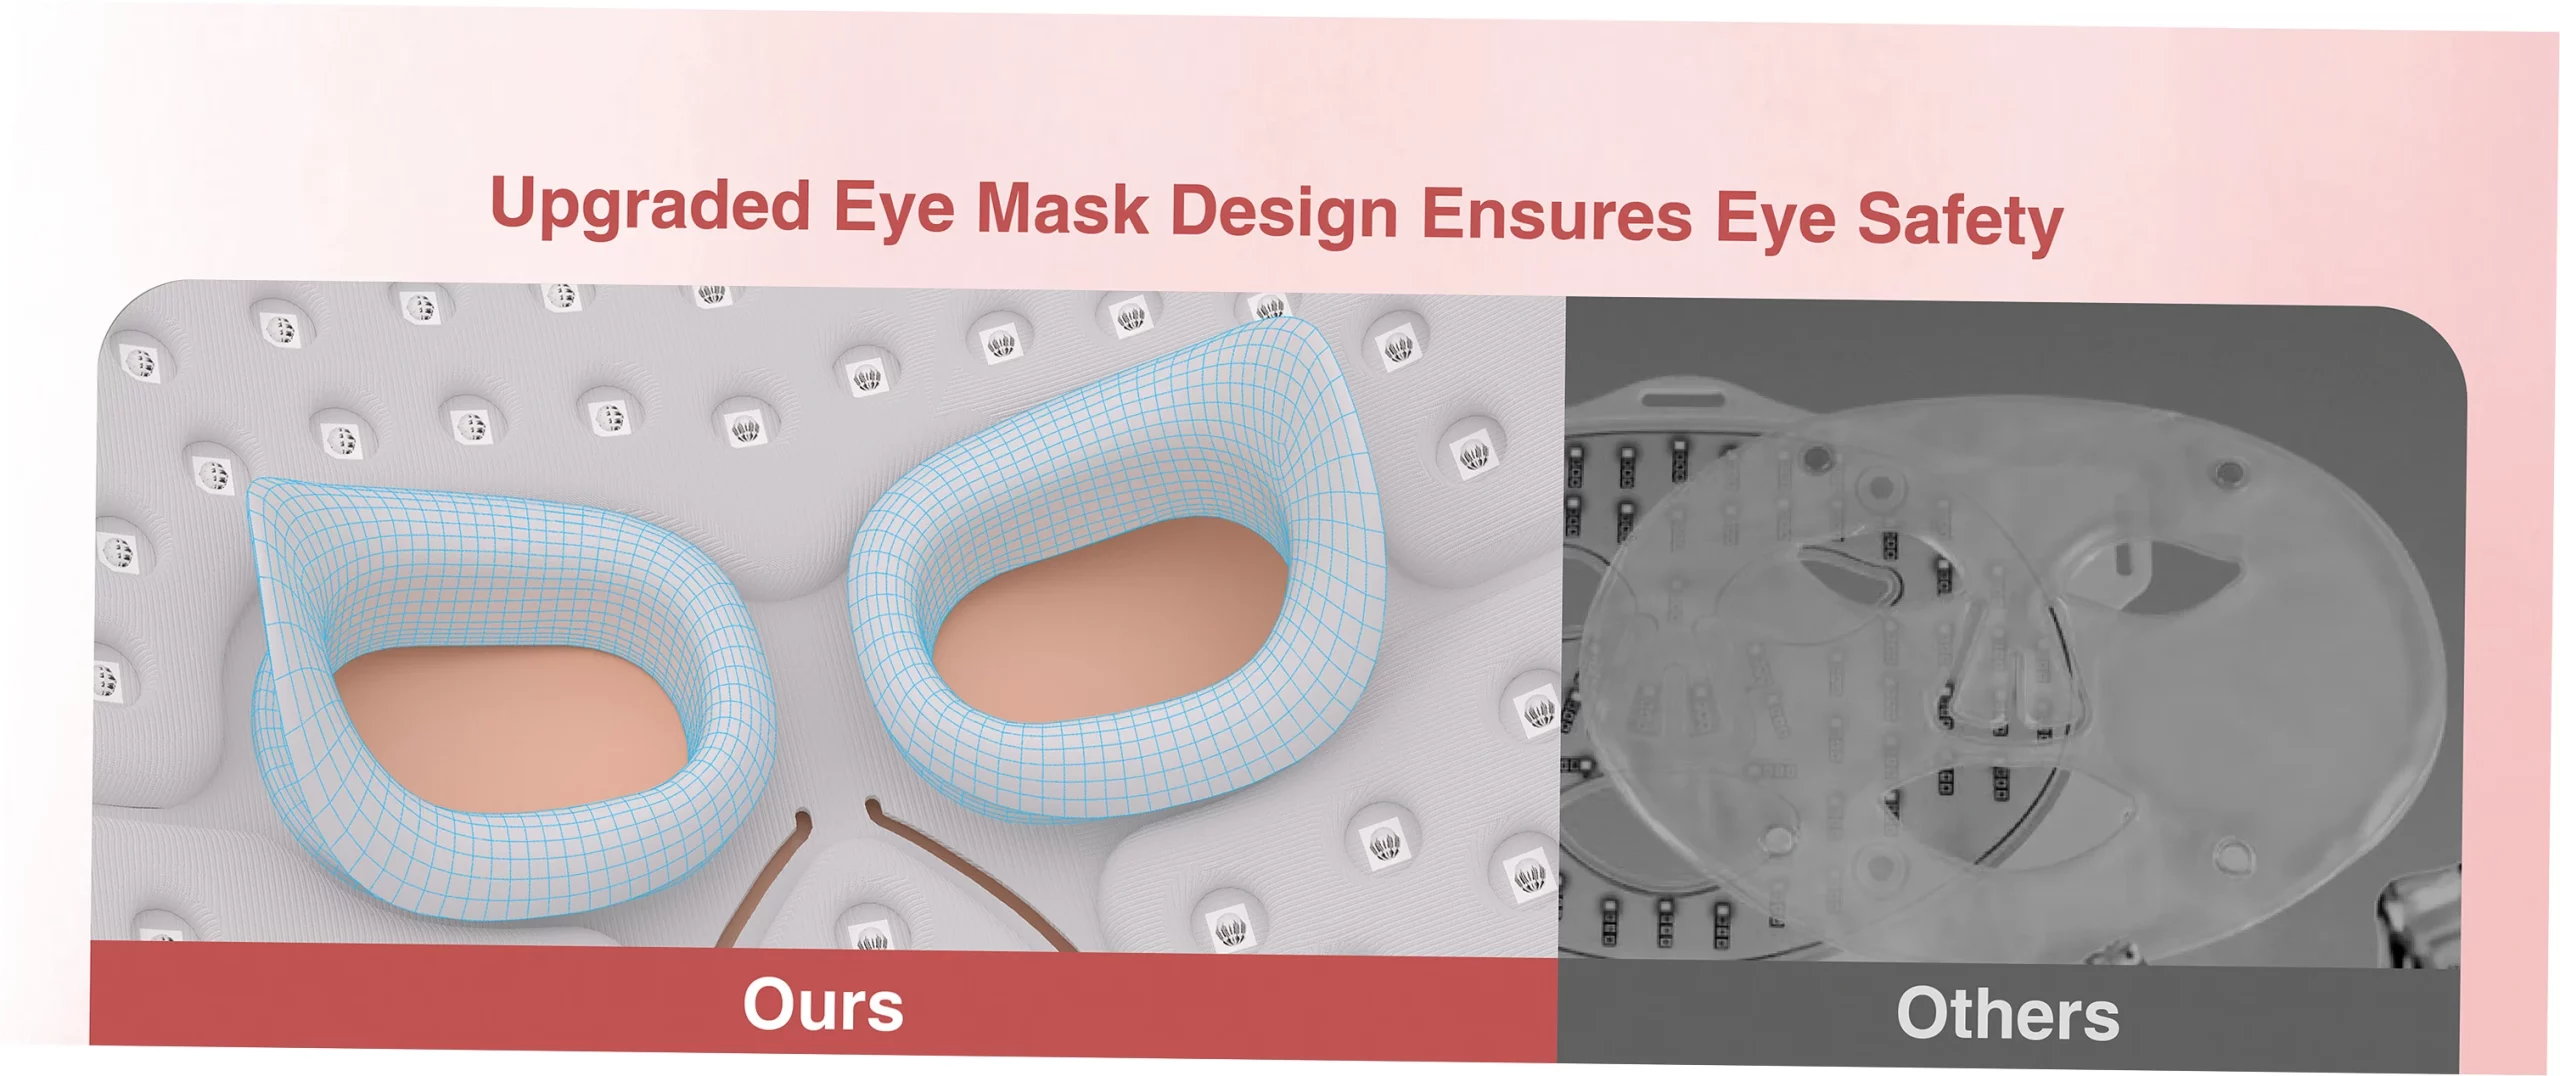
Don’t stop at just FDA clearance – also check for other safety certs like electrical safety standards and material safety compliance. These matter because they make sure your red light therapy won’t hurt your eyes or skin with bad shielding or dangerous materials. The home device I use now has both FDA clearance and global quality certification for manufacturing standards.
Let’s compare the different types: masks, panels, and wands
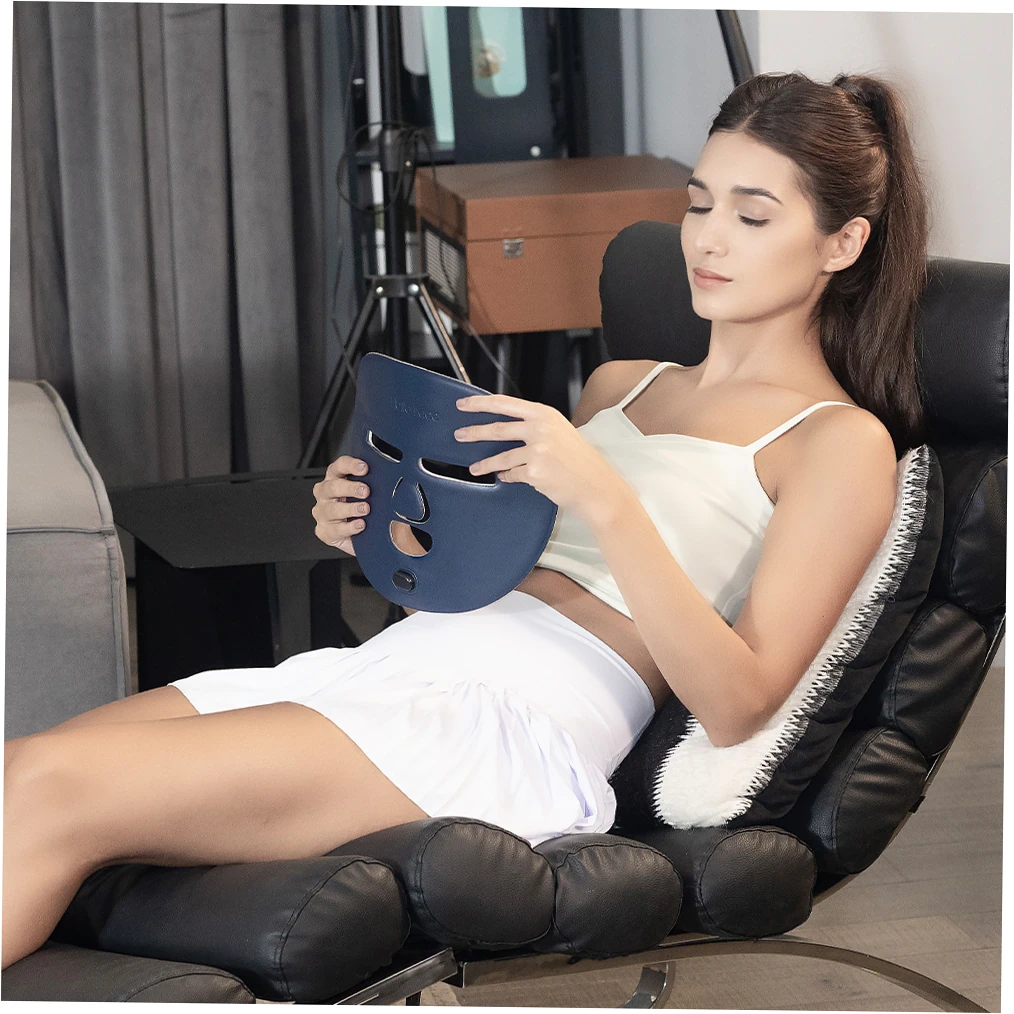
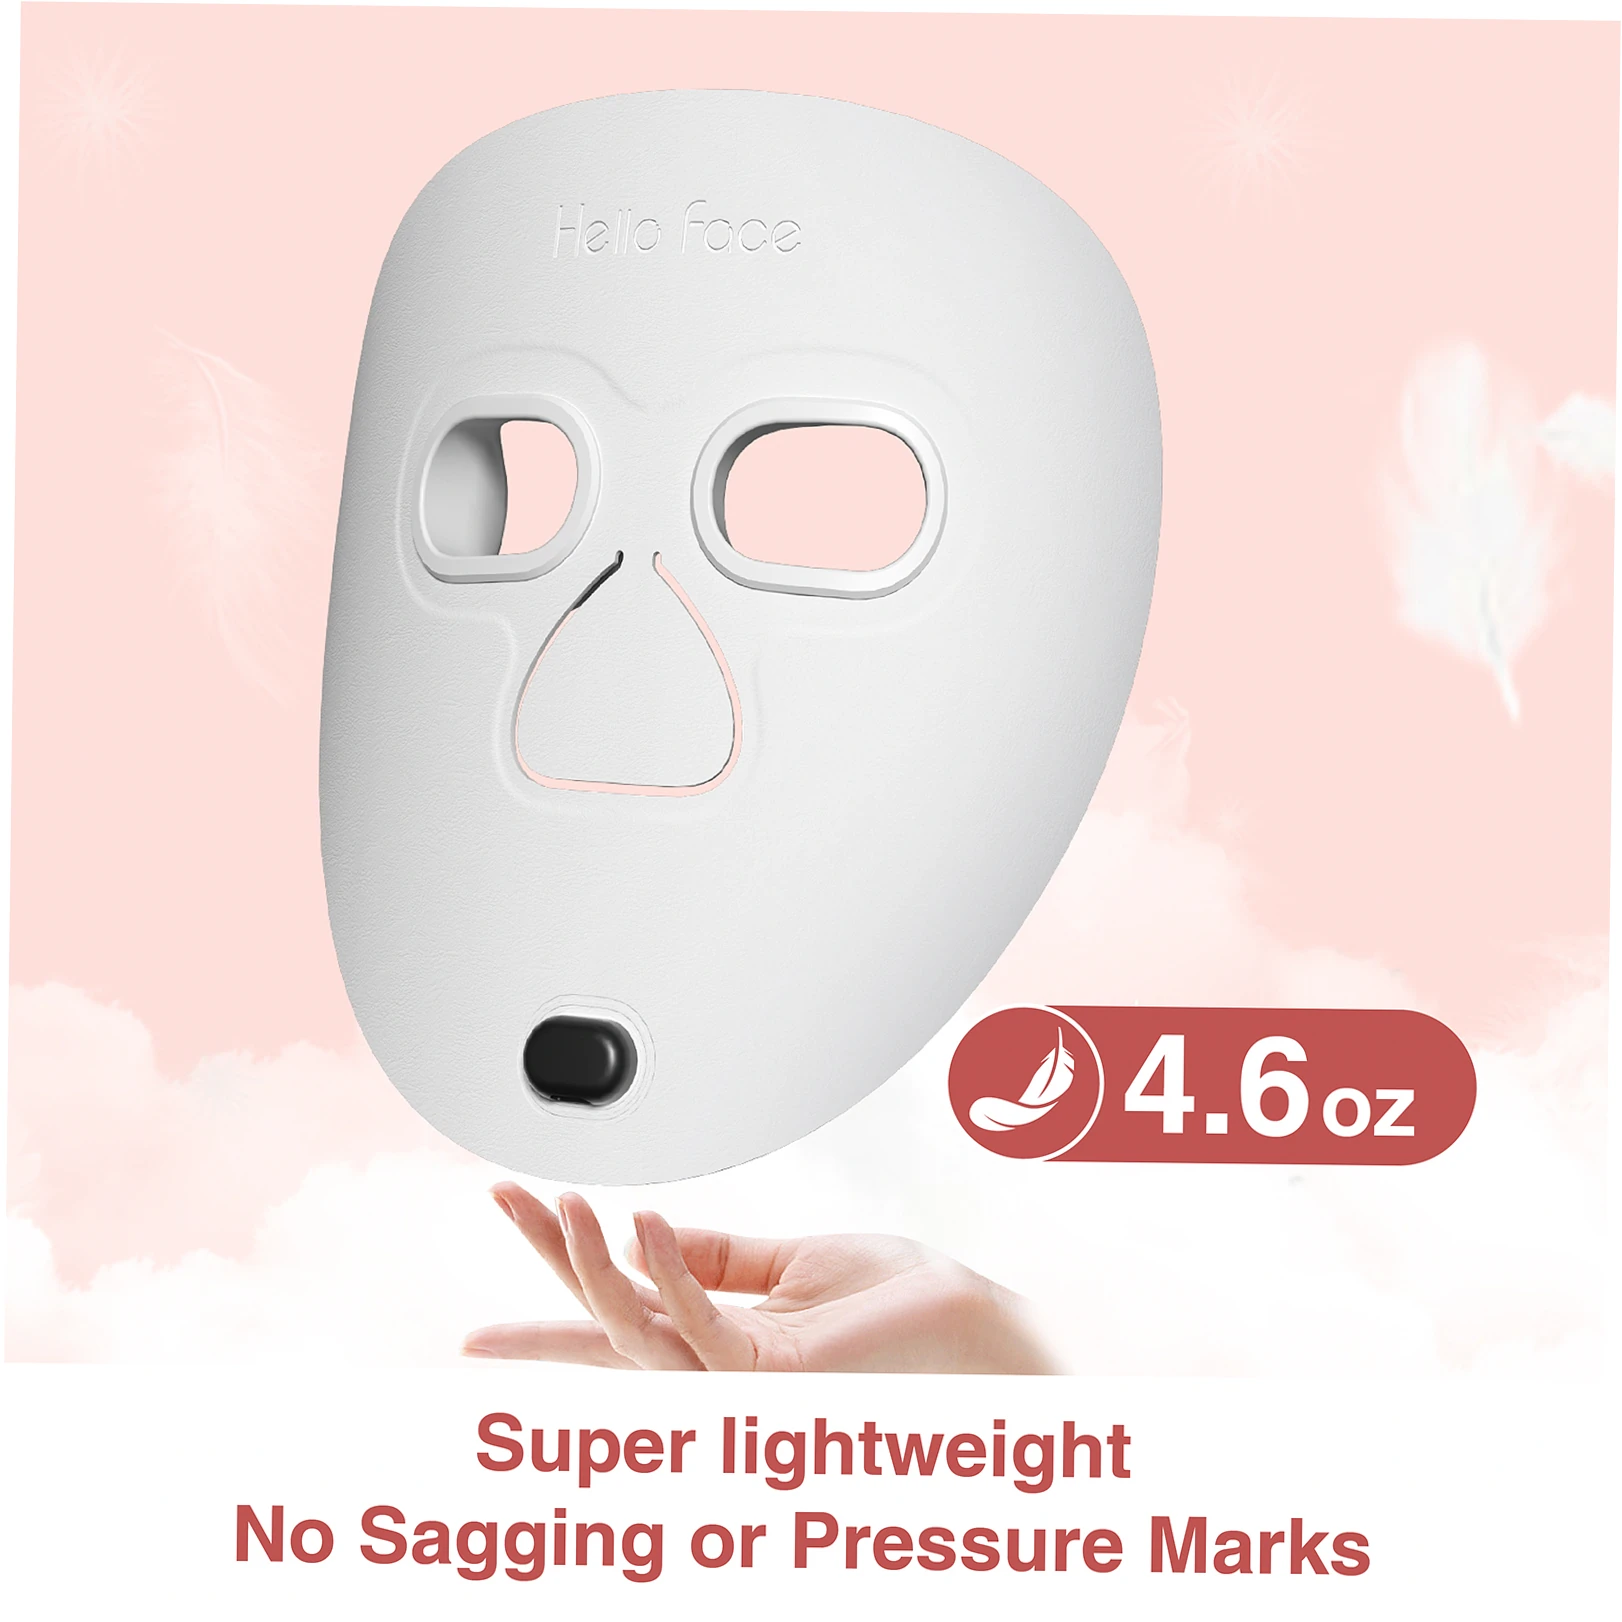
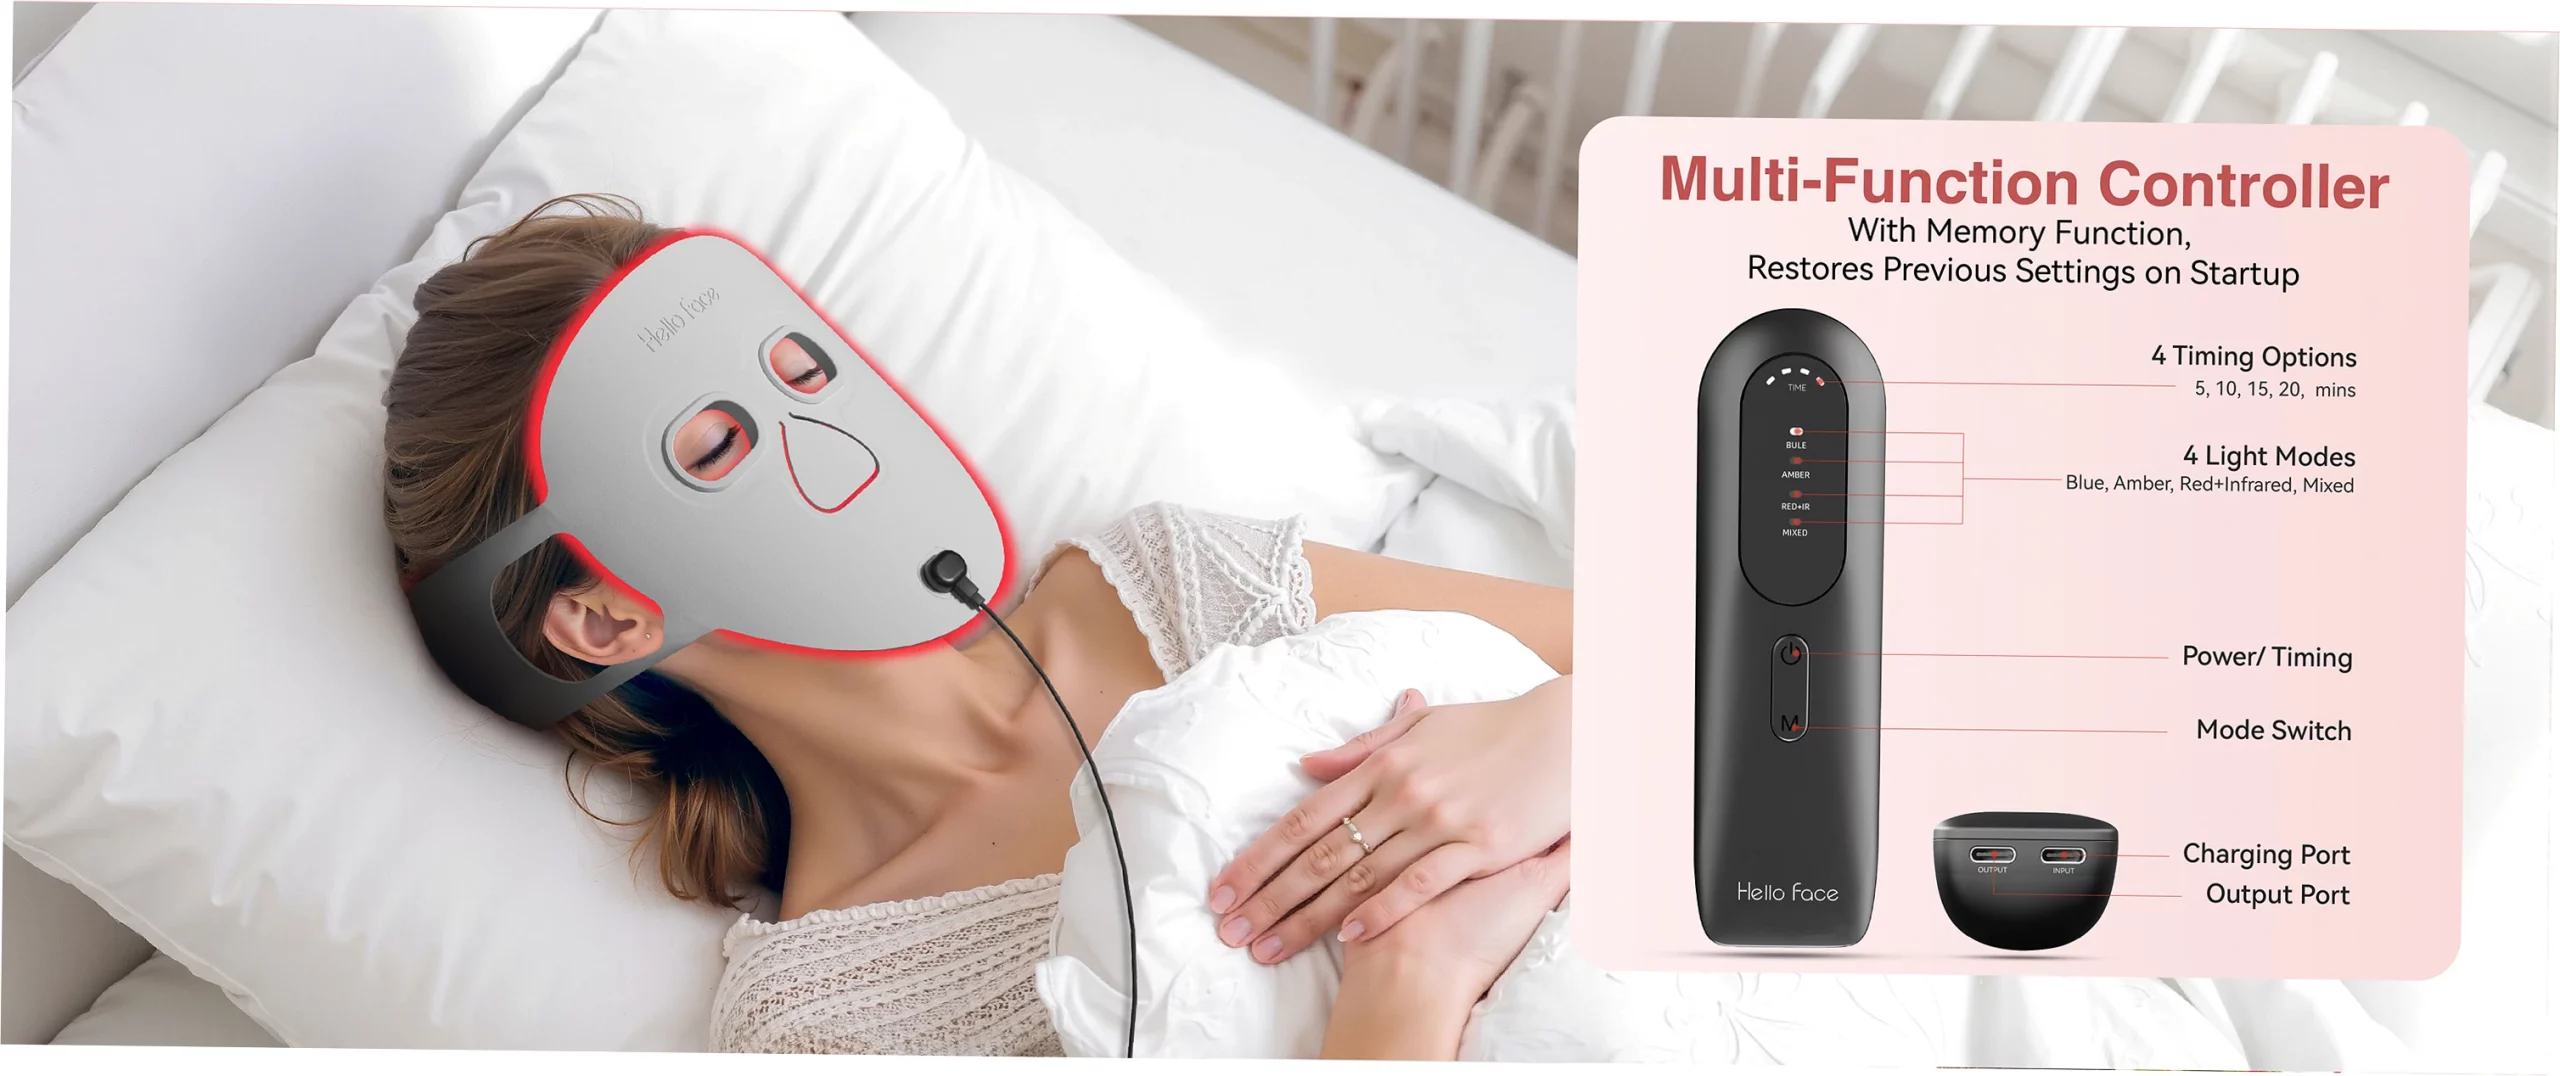
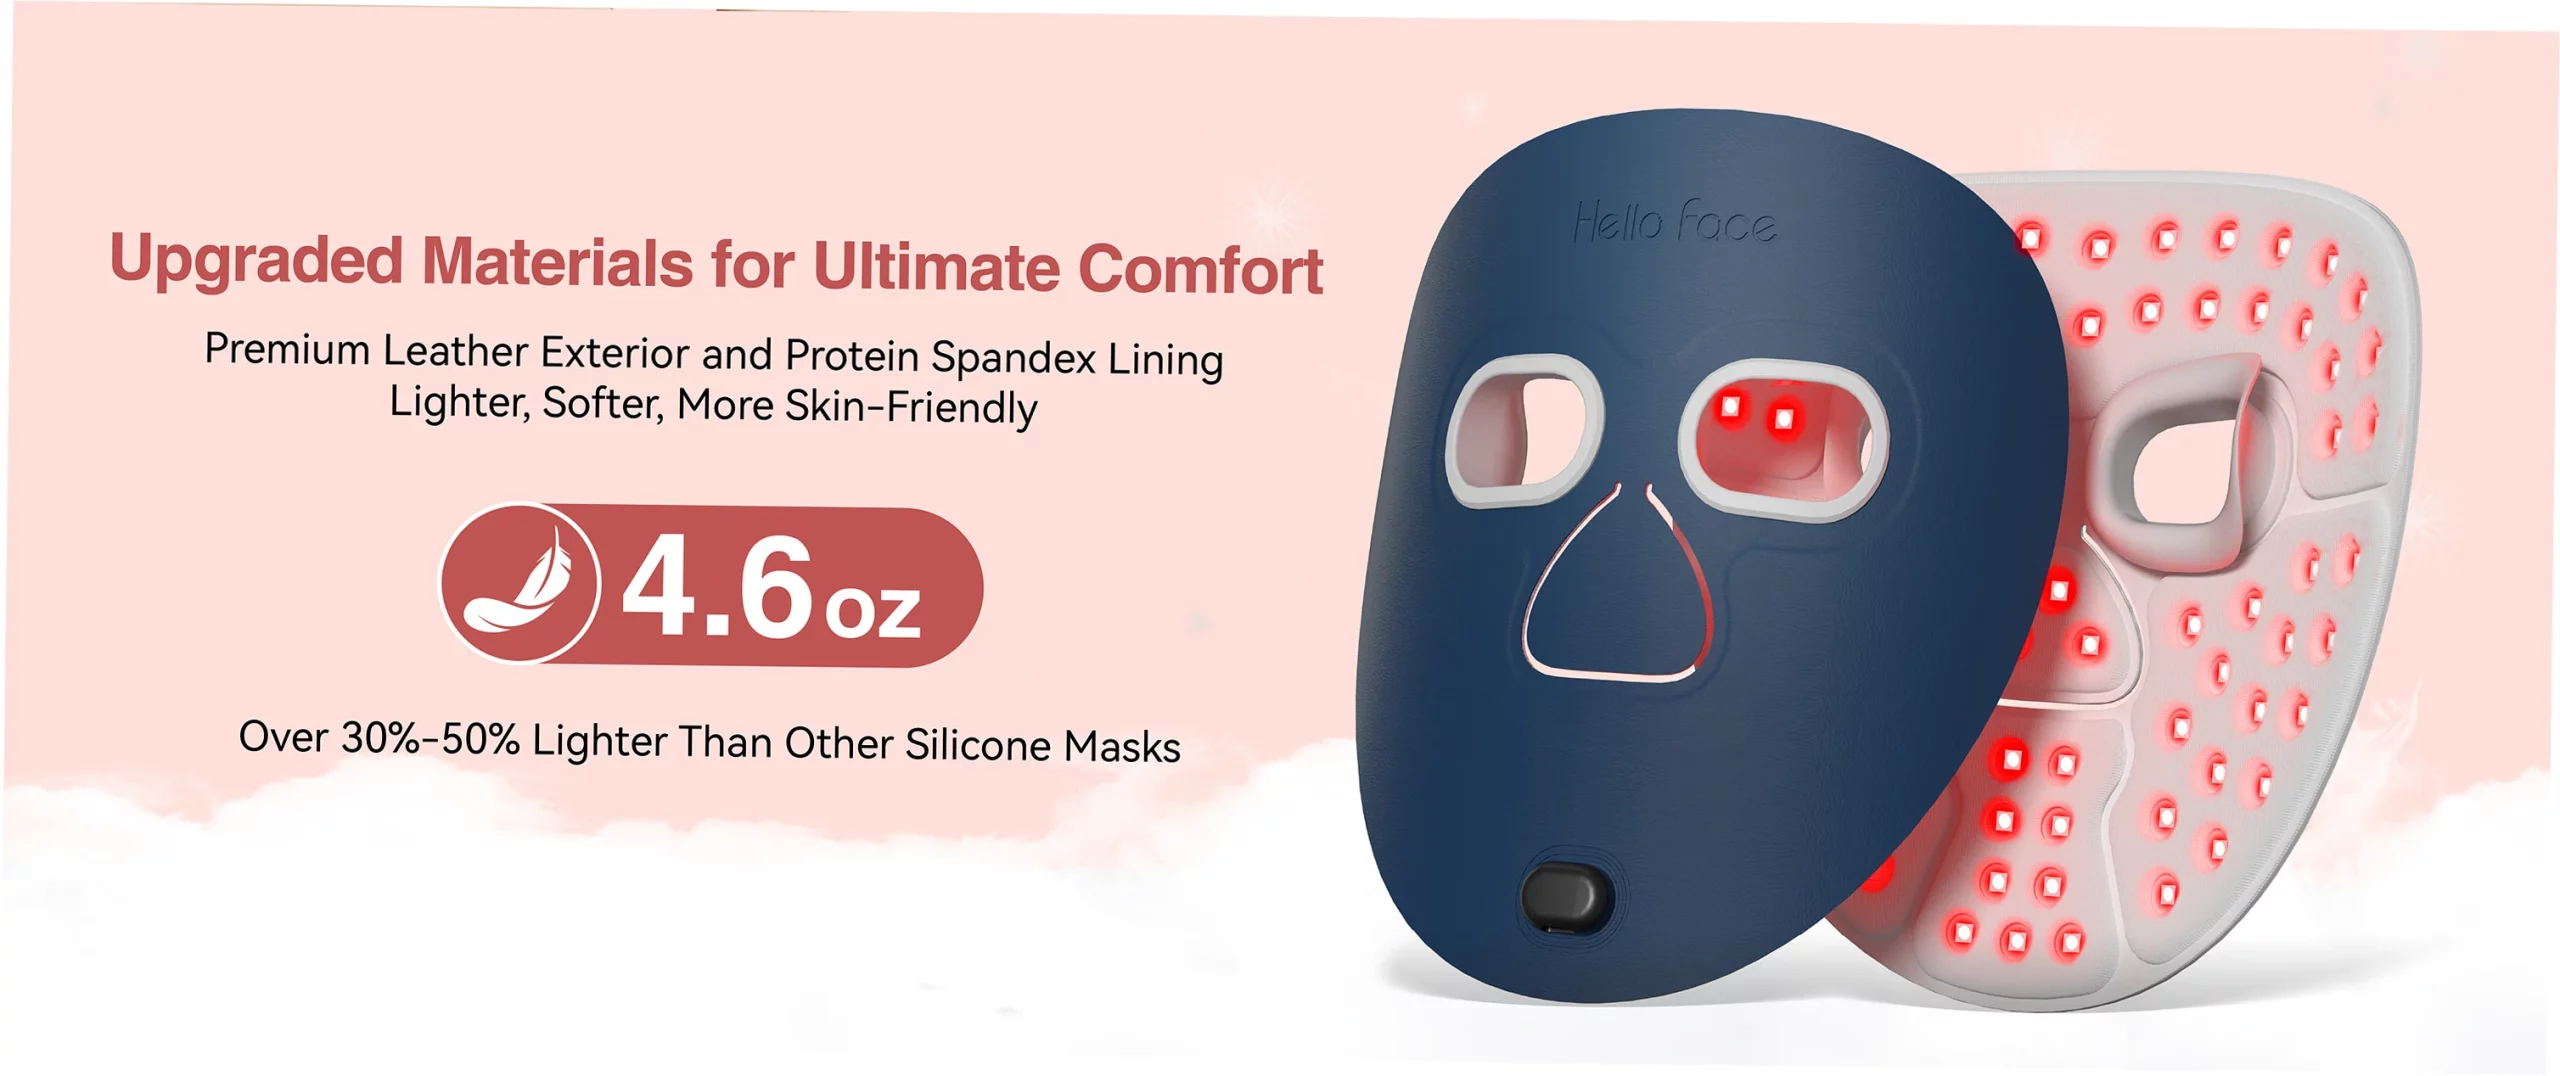
LED face masks are super convenient – they’re hands-free and cover your whole face, perfect for daily red light therapy sessions. Bigger panels can treat more body areas but might not be as comfy for regular face use.
Handheld wands let you target specific spots but you have to hold them the whole time. From my testing, mask-style devices get used most consistently, and that’s key for building up benefits with regular red light therapy for your face.
Think about your daily routine when choosing your device type. If you travel a lot, go for something foldable or easy to pack. If you’re mostly using it at home, a stronger stationary panel could give you better red light therapy results for your face. Here’s how the main device types stack up:
| Type | Best For | Area It Covers | Convenience |
|---|---|---|---|
| LED Mask | Daily face care | Whole face | Hands-free |
| Panel | Versatile use | Face and body | Stays in place |
| Handheld Wand | Precise treatment | Small spots | Targeted use |
Implementing Your Home Treatment Protocol
Step-by-Step Facial Treatment Procedure
First things first, get your skin really clean before starting your red light therapy for face at home. Make sure there’s no makeup, sunscreen, or other skincare stuff that could block the light from getting through.
I’d suggest using a mild pH-balanced cleanser, then gently pat your face dry instead of rubbing it. Here’s something important – don’t put on serums or creams before your home red light therapy session.
Unless your device instructions say otherwise, skip them because lots of products can actually block or reflect the good wavelengths your skin needs.
When you’re ready to start your facial red light treatment, just hold your device about 6 to 12 inches from your face. The exact distance depends on how powerful your particular device is.
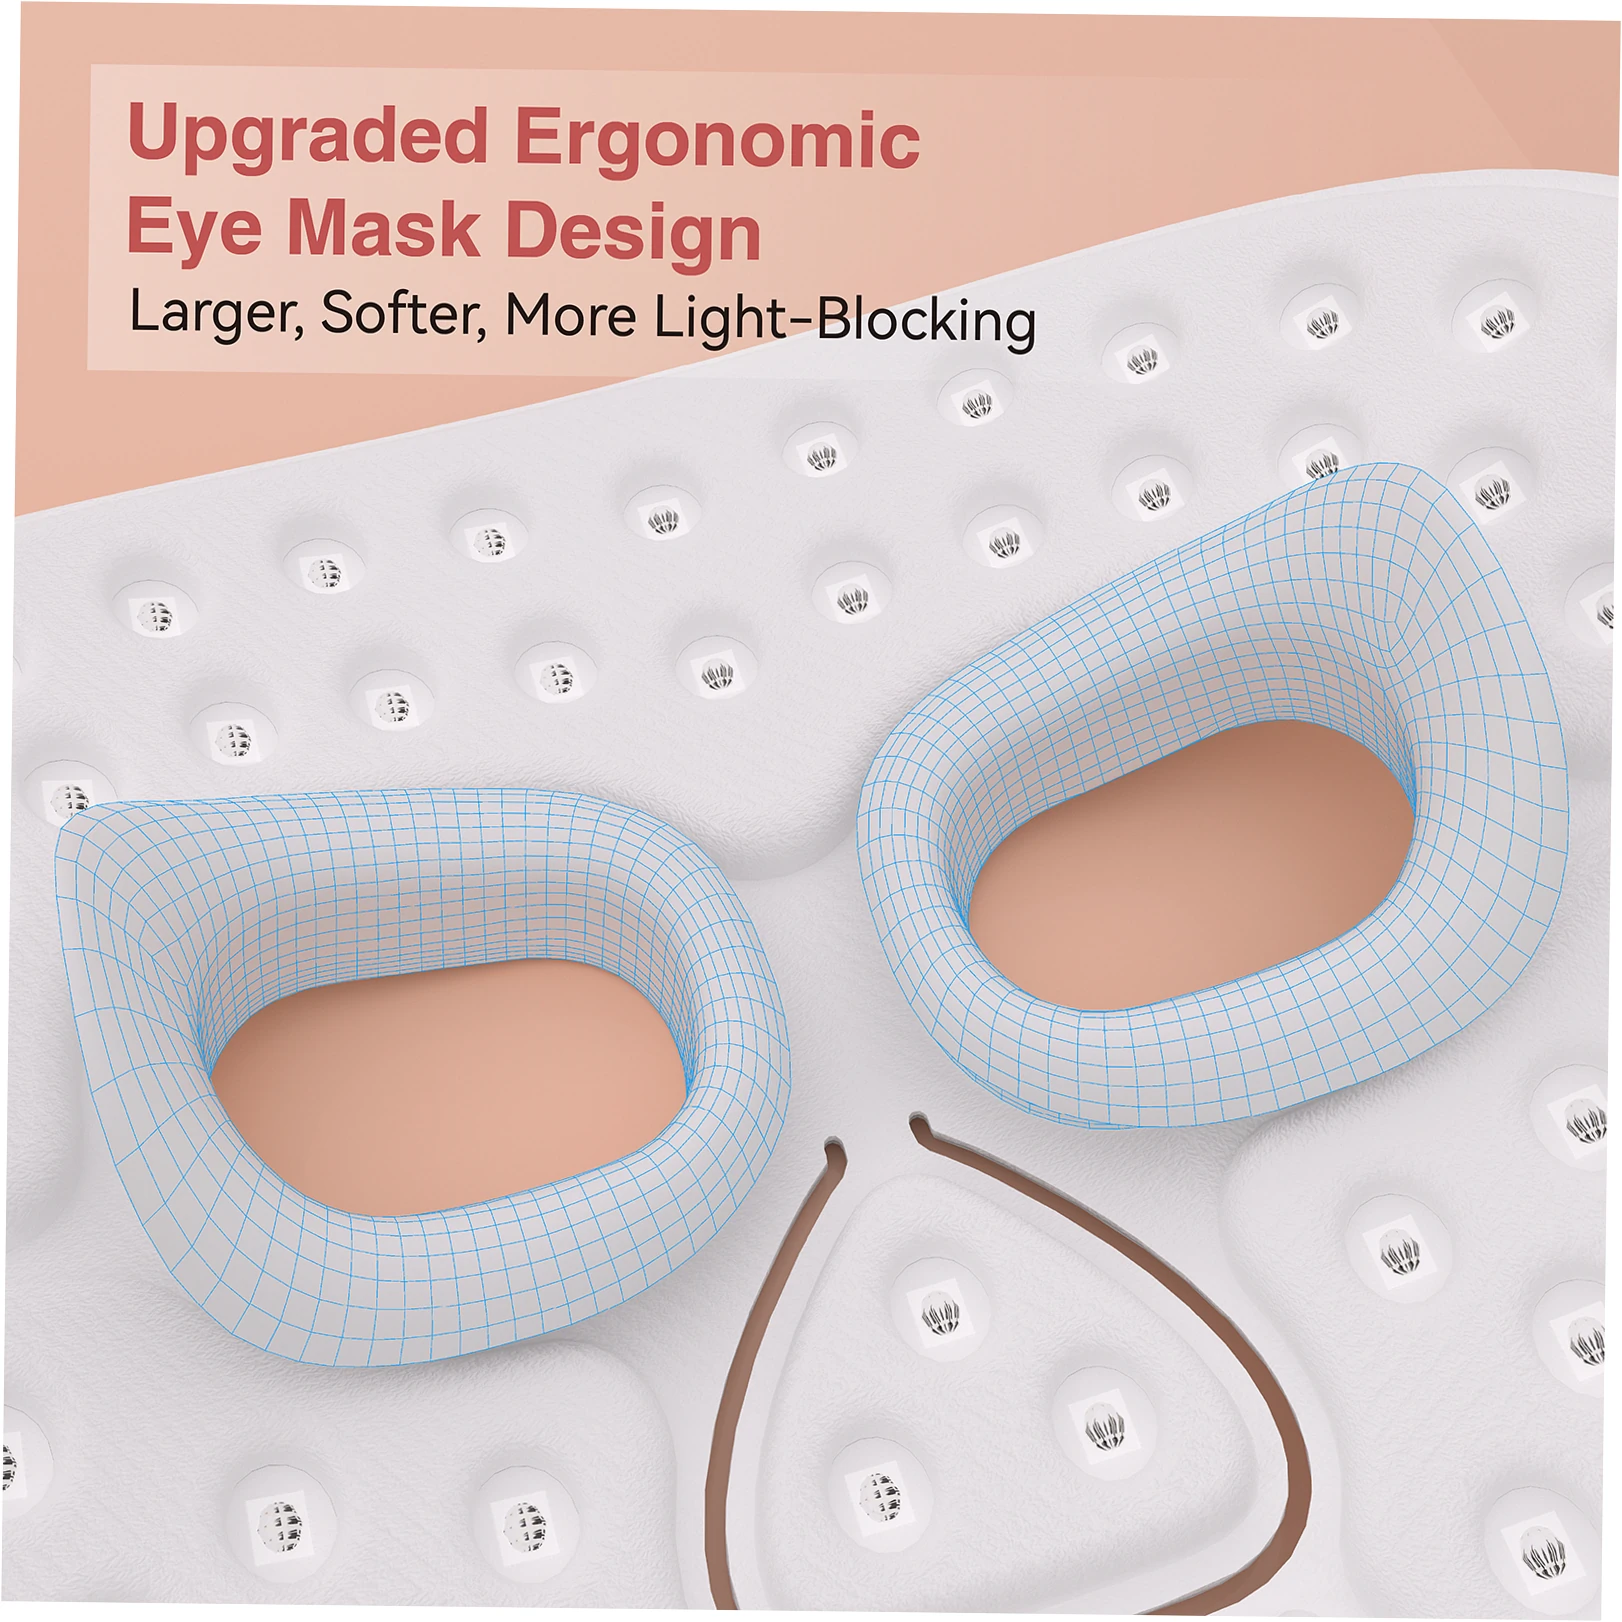
Always wear the eye protection that came with your device, even when your eyes are closed. That bright light could potentially harm your retinas. Begin with quick 3 to 5 minute sessions.
then slowly work up to the full 10-20 minutes as your skin gets used to the treatment. Sticking with your routine is way more important than how long each session lasts. Set up a schedule you can actually keep up with over time.
Optimizing Frequency and Duration for Results
For scheduling your at-home facial red light therapy, most studies that got great results had people treating their skin 3 to 5 times each week for about 2 to 3 months.
Once you’re maintaining your results, you can usually cut back to just 2 or 3 sessions per week. From tracking my clients, I’ve noticed something interesting.
People who build red light therapy into their regular routine – like using their device while catching up on podcasts or watching TV – get much better results than those who use it randomly. This holds true no matter how fancy their device is.
Here’s what to expect as you progress. In that first month, you’ll probably see small but nice changes – mainly smoother skin texture and less redness.
The bigger rewards like collagen building and wrinkle reduction from your facial red light therapy usually show up after 8 to 12 weeks of regular use. Take weekly photos in the same lighting to really see your progress. This helps you spot changes that you might miss just by looking in the mirror every day.
Maximizing Results and Complementary Practices
Skincare Products That Enhance Light Therapy
Post-treatment application: Right after using red light therapy for your face at home, your skin really soaks up products. Try putting on vitamin C serums – they team up with red light therapy to fight damage.
Hyaluronic acid serums give you extra hydration when your cells are active. I usually wait about 15-30 minutes after my home red light therapy before using any products – that gives my skin cells time to absorb all that good light energy.
Ingredients to avoid: Go easy on retinoids and exfoliating acids when you start red light therapy for your face – they can make your skin more sensitive at first.
I’d suggest using those strong ingredients on days you skip red light therapy, or save them for nighttime if you do your facial light sessions in the morning. Just add one new thing at a time so you can see how your skin handles it.
Lifestyle Factors That Support collagen Production
Nutritional support: While red light therapy for your face boosts collagen, your body still needs the right stuff to build with. Make sure you’re getting enough protein – collagen peptides or things like glycine and proline work great.
Foods packed with vitamin C help your body make collagen naturally, and antioxidant foods keep inflammation down. Drinking enough water is just as important – dry skin can’t make the most of that cellular energy from your home red light sessions.
Complementary practices: Good sleep is when your body does its best repair job, which really helps you get the most from your facial red light therapy.
Keeping stress in check with meditation or light exercise controls cortisol – that stress hormone can break down collagen otherwise. I tell people to think of at-home red light therapy as just one part of taking care of your skin, not the only thing you need.
Addressing Safety and Managing Expectations
Potential Side Effects and Contraindications
Most people don’t get any side effects from home red light therapy for your face, just some temporary redness that usually goes away in about an hour. If your skin is sensitive to light, you might react more strongly.
so definitely test it on a small spot first before doing your whole face. And if you’re on medications that make you more sensitive to light, check with your doctor before starting facial red light therapy.
From what I’ve seen, beginning with shorter red light therapy sessions and slowly building up time really helps reduce any possible skin reactions.
Here’s some important safety stuff – if you have active skin cancer, had melanoma before, or are using Accutane, skip the at-home red light therapy unless your dermatologist says it’s okay.
If you have thyroid issues, be careful treating your neck area since red light might stimulate your thyroid. When you’re not sure, just ask your doctor, especially if you have any health worries or conditions.
Realistic Timeline for Visible Improvements
Knowing what to expect timeline-wise really helps you stay motivated with your at-home red light therapy routine. You’ll usually start seeing better skin texture and tone within the first 2 to 4 weeks.
After 3 to 6 weeks, you might notice less redness and inflammation on your face. For real collagen building and wrinkle improvement with red light therapy.
you’ll need to stick with it for 8 to 12 weeks consistently. Here’s a quick breakdown of when you can expect to see changes with facial red light therapy:
| When you’ll see changes | What improves | How many sessions |
|---|---|---|
| 2 to 4 weeks in | Better texture, brighter skin | After 6-12 sessions |
| 4 to 8 weeks in | Less redness, fewer fine lines | After 12-24 sessions |
| 8 to 12 weeks in | Better collagen, fewer wrinkles | After 24-36 sessions |
| 12 weeks | Maintaining and building on your results | 36 sessions |
Everyone’s different though – your results with at-home red light therapy depend on your age, your skin’s condition, how good your device is, and how consistent you are with treatments. If you have lots of sun damage or inflammation, you might see bigger changes at first, but if you’re using it preventatively, the improvements might be more subtle. Taking before photos and tracking your progress each month really helps you see what the red light therapy is actually doing for your skin.
Conclusion
Home red light therapy is a big step forward for skincare. It’s easy to get and doesn’t involve any invasive procedures. When you use it right, you get real benefits that science backs up.
I’ve tested lots of red light therapy devices and seen what happens with clients. Using it regularly really can change your skin’s health. It works especially well for fine lines, redness, and uneven texture.
To get good results, pick a quality device with proven specs. Set up a routine you can stick with. And remember that collagen takes time to rebuild – don’t expect overnight miracles. Add red light therapy to your full skincare routine.
That means cleaning your face right, using antioxidants, and living healthy. Then it becomes a key part of keeping your skin looking good long-term.
Thinking about changing up your skincare routine? Tell us about your home red light therapy experiences in the comments! Or check out our device comparison guide to find what works for your skin goals.
FAQ About red light therapy for face at home
So how close should you get your face to that red light therapy device?
The perfect distance really depends on your specific device, but most work best when you’re about 6 to 12 inches away. Stick to what the manufacturer suggests – getting too close won’t give you better results and might even feel uncomfortable.
while sitting too far away makes the treatment less effective. Light gets weaker the farther you move away, so even small changes in distance can make a big difference in how much energy reaches your skin.
What if you’ve got sensitive skin – can you still use red light therapy at home?
Absolutely! Red light therapy is actually great for sensitive skin because it’s gentle and doesn’t produce heat. But you’ll want to test it on a small patch of skin first before doing your whole face.
Begin with quick sessions of just 3-5 minutes, then slowly work up to longer times as your skin gets used to it. People with conditions like rosacea often notice red light therapy really helps calm down inflammation.
When should you put on your skincare products – before or after your red light therapy session?
Definitely apply your products after you’re done with your treatment, and make sure your skin is clean and dry. Anything you have on your skin during the session can block or bounce back the light, making it less effective.
Give it about 15 to 30 minutes after treatment before putting on serums – this lets your skin fully absorb all that good light. Your skin becomes more ready to soak up all the active ingredients right after light therapy.
So how long does it take to actually see results from your at-home red light therapy?
If you use it regularly about 3 to 5 times a week, most people start noticing their skin texture and tone getting better within 2 to 4 weeks. The bigger changes like collagen building and wrinkle reduction usually show up after 8 to 12 weeks of use.
Taking monthly photos really helps you see those gradual improvements that you might miss otherwise.